

Hey there, I’m Vincent, but you can call me Vinny. I’ve been part of the DIY Sports Art family since early 2022, and let me tell you, it’s been quite the ride. During my time here, I’ve had the chance to complete several paint by numbers kits myself, and boy, have I learned a few things along the way. Today, I want to share my personal insights, experiences, and tips to help you not just complete your DIY Sports Art kit but master it.
Like many of you, I hadn’t picked up a paintbrush since my childhood when I started at DIY Sports Art. I get it; the prospect of painting again can be a bit intimidating. I completely get the apprehension you might be feeling right now. But fear not! It’s easy! I’m here to share some insights that will make your painting adventure more enjoyable.
Some of my tips overlap with the official Instructions & Tips, but it was worth restating them.
Let’s Dive in!!
The Art of Preparation
Before we dive into the nitty-gritty of painting, let’s talk preparation. Here are some items I always keep close at hand:
Digital Picture
Before laying a single stroke of paint, take a couple of clear pictures of your untouched canvas. Trust me; these will be useful. When you’re dealing with tiny segments or accidental paint spills, these pictures will be your guardian angels to be able to zoom to a particular segment and verify the paint number.
Paper and Pen
Instead of immediately switching colors when you notice a spot that needs a touch-up, jot it down on a piece of paper. Keeping track of these little details allows you to come back to it later and ensures you won’t miss a thing. The canvas printout included in the kit is also helpful for this purpose.
Additional Tools
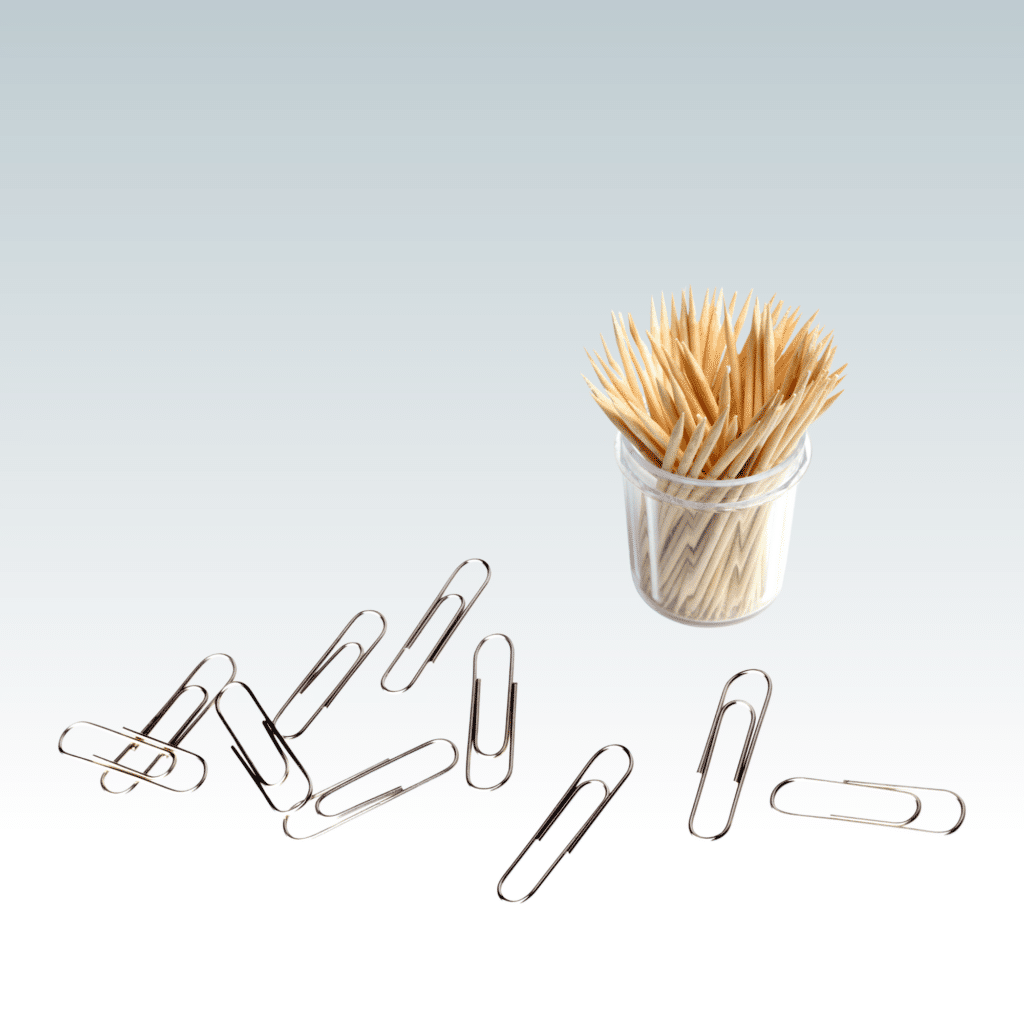
I swear by two tools: paperclips and toothpicks. A bent paperclip serves as the perfect paint pot stirrer, helping you mix up the paint and gauge the paint’s thickness and decide whether I need to add a drop or two of water to it or not. Toothpicks, on the other hand, are your secret weapons for those minuscule, hard-to-reach spots that even a fine paintbrush can’t handle.
Mastering Your Brushes and Paint
Testing Your Brushes
Before you start, spend some quality time with your brushes. It might sound weird, but trust me, it’s worth it. Here’s what you do:
Experiment with your brushes to get a feel for them. Each brush has its unique characteristics, producing different thicknesses and strokes. Don’t make the same mistake I did early on: using the wrong brush for a segment’s shape and size. Try out each one with varying angles and pressures to understand their full potential.
Testing the paintbrushes before starting will also give you insight into the paint thickness and let you know if a paint needs to be thinned with a drop of water or two. See the section below on paint thickness for more details.
Choosing the Right Brushes
After trying both standard and Premium Paintbrushes, I’m a firm believer in the Premium ones. They’re a game-changer. They’re easier to grip, and having extra brushes allows you to easily switch between two colors, saving you precious time. Trust me; it’s a worthy investment. You can often find these at a discount when purchasing a DIY Sports Art kit. And here’s a secret tip: Contact Alex through the “Contact Us” page and ask for a promo code to get a free set of premium paintbrushes!
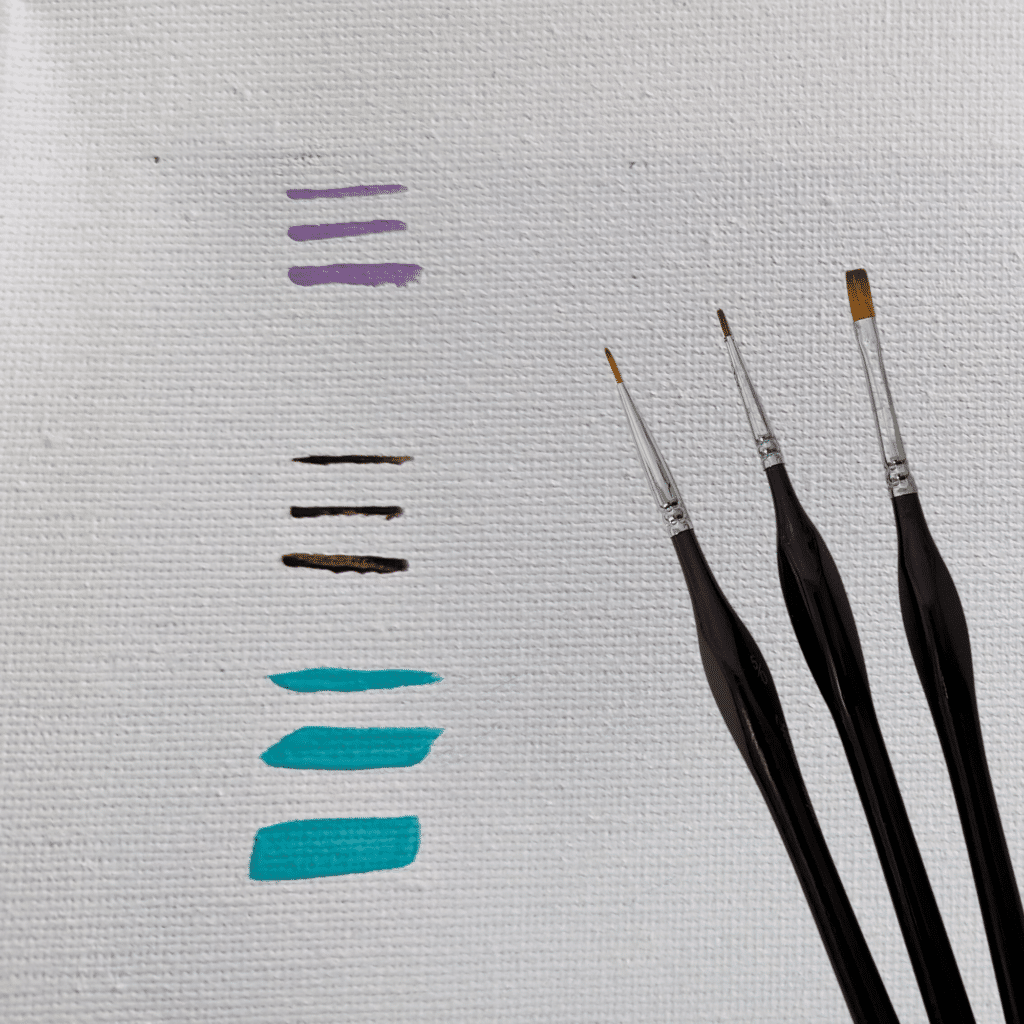
Paintbrush Sizes
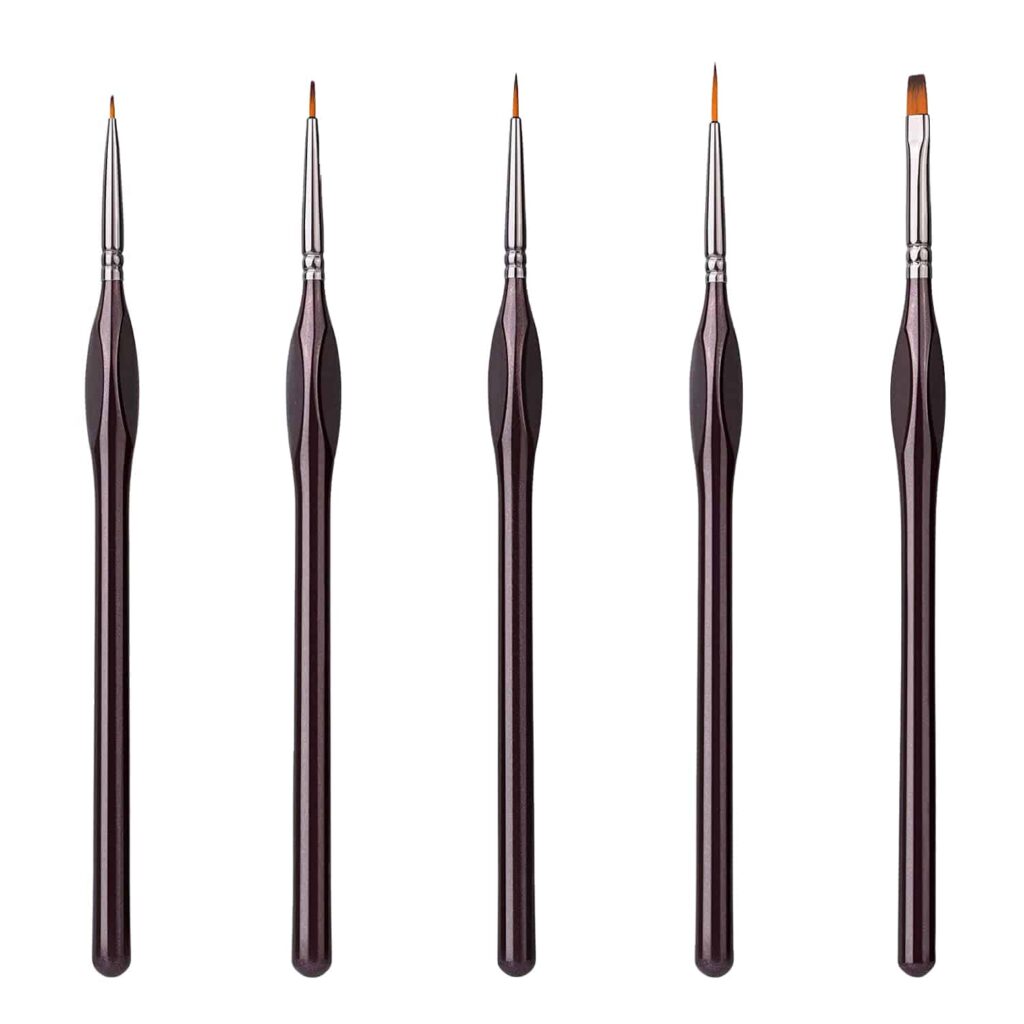
In my painting journey, I’ve found three brush sizes to be my trusty companions: Round 5/0, Round 3/0, and Flat 0. I feel like I can complete any painting of any complexity with using just those 3 brushes. Interestingly, all of these are included in the 5-pack of Premium Paintbrushes, which is super convenient.
Cleaning
Even when not switching paint colors, I frequently clean my paintbrushes. When working on the same paint color for a while you may start to get some paint build up near the ferrule of the brush. When this happens, I like to wash the brush to clear it out, so I continue to get a nice even paint stroke.
The Painting Process
Now, let’s talk about the actual painting process:
Outlining
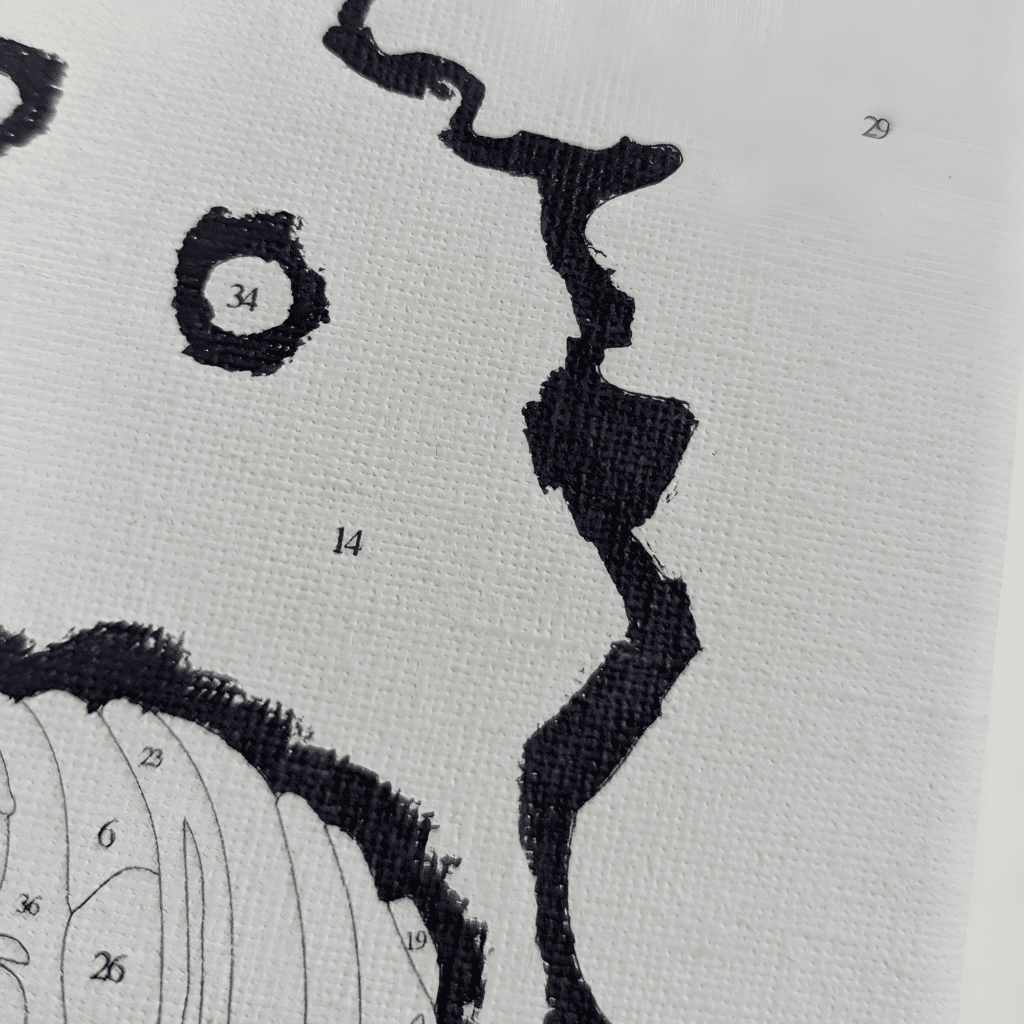
When you’re tackling larger or medium-sized areas on the canvas, I’ve found it incredibly helpful to do the outline first. Grab your trusty 5/0 or 3/0 paintbrush and outline the area. Once that’s done, filling in the space becomes a breeze. No more worries about coloring outside the lines!
Precision with Every Stroke
One technique I’ve come to swear by is dipping only the tip of the paintbrush into the paint pot, rather than dunking the whole brush. This might sound counterintuitive, but trust me, it’s a game-changer. By doing this, you gain impeccable control and precision when painting on the canvas. You can achieve those delicate details and fine lines with ease. Plus, it helps you conserve paint and avoid those dreaded blobs that can mar your masterpiece. So, remember, when in doubt, just dip the tip.
Mastering Touch Ups
Here’s a little secret: there’s always some touch-up work needed in any painting. It could be a spot where the number on the canvas peeks through, an area that needs a second coat, a missed small segment, or a little clean-up where you went over a line. As I mentioned earlier, I keep a sheet of paper handy to jot down what needs touching up. I revisit these areas when I’m nearing the finish line.
Decoding White Spots
While you’re painting, you might spot what seems like unpainted white spots. But, and this is a big but, these spots can be deceptive. Factors like glare, wet paint, and lighting angles can make them appear. I’ve wasted precious time trying to paint them only to realize it was just a trick of the light.
However, that’s not to say real white spots don’t exist. With experience, I’ve learned to make a note of these spots and come back to them later to see if they’re still there from a different angle and when the paint is dry. Sometimes, it’s just a matter of perspective.
If you’re encountering actual white spots more frequently, it might be due to the paint’s thickness. Thick acrylic paint, when applied to a textured surface like canvas, might not fully flow into the crevices. I’ll touch more on paint consistency in a bit.
Understanding Paint Thickness
Ideal Paint Thickness
Before starting a color, I recommend stirring each paint pot with a bent paperclip. This will give you a good idea of the paint thickness.
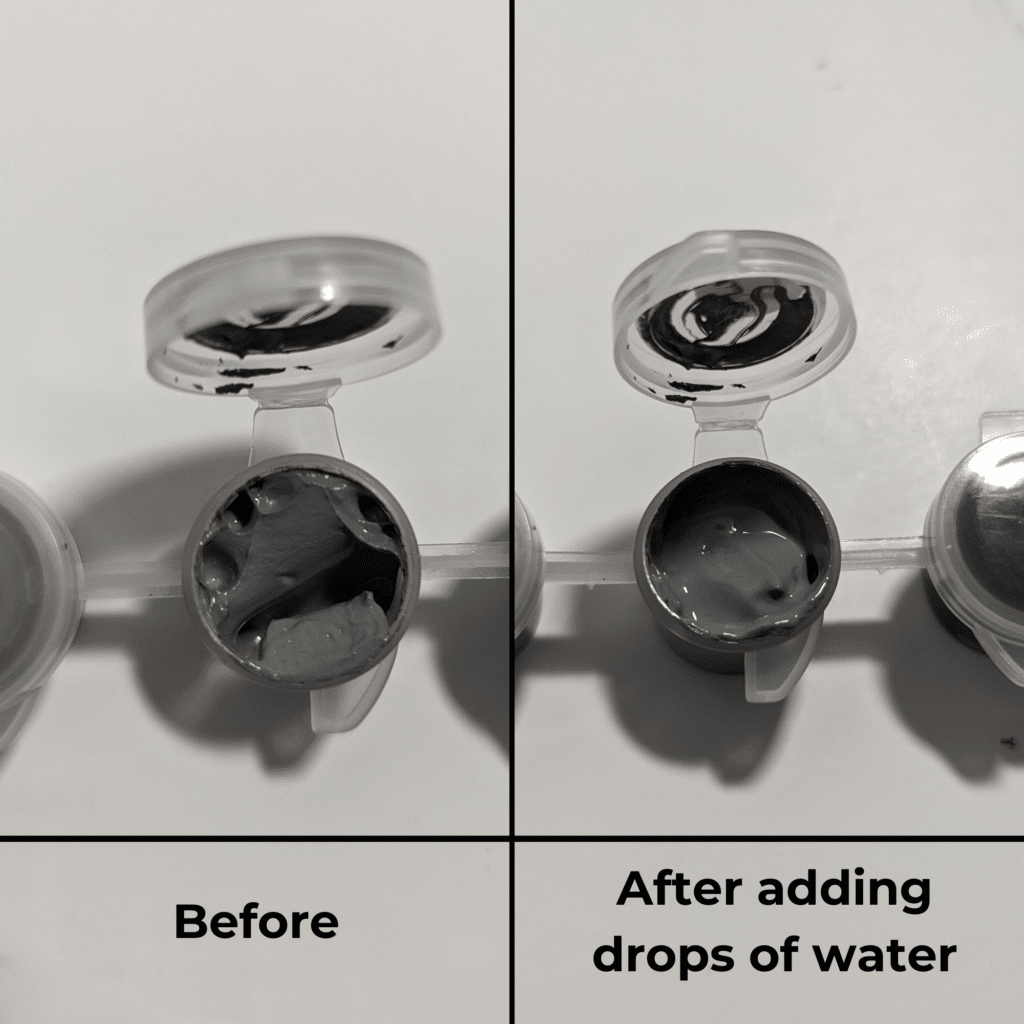
The ideal acrylic paint thickness is akin to heavy cream: smooth, creamy, and free of lumps or chunks. It should cling to the brush without resisting movement or running or dripping.
Within this ideal range, there’s room for personal preference. During my DIY Sports Art journey, I noticed that slight variations in paint thickness can affect the painting experience. So, I encourage some experimentation. Try out your brushes with a paint pot that seems a bit thicker, do a few brush strokes, and then add a drop or two of water to see how it changes the flow. This experimentation will help you discover your preferred paint thickness, but also learn when a paint pot may be too thick or starting to dry out.
Preventing Paint Drying
- Focus on One Number at a Time: When you’re working on a paint by numbers project, concentrate on one numbered area at a time. This minimizes the exposure of other colors to air, preventing them from drying out prematurely.
- Seal Those Paint Pots: After using a paint pot, ensure you close the cap securely.
- Revive Thickened Paint: If a paint color thickens as you work on your masterpiece, don’t fret. You can rehydrate it by adding a couple of drops of water and mixing it well with a bent paperclip.
Progress and Motivation
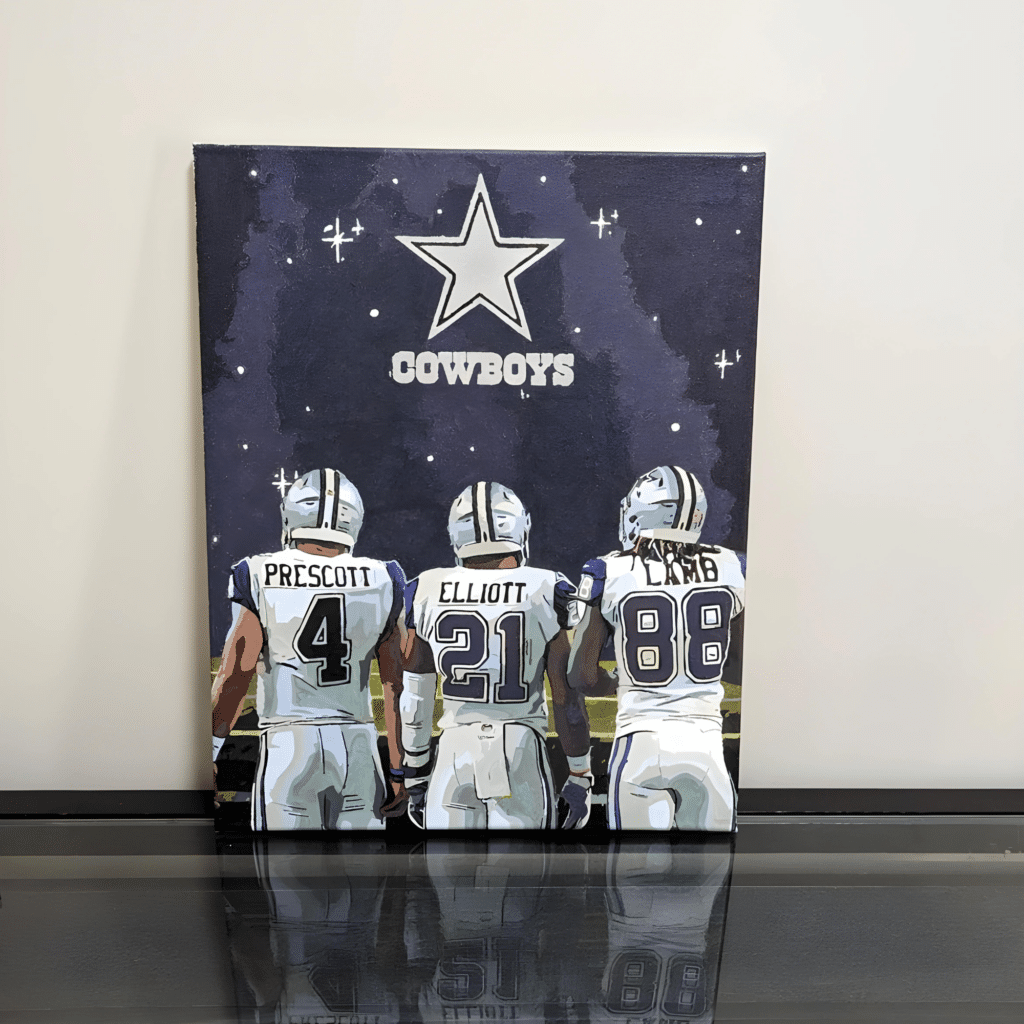
Now, let’s talk about progress and motivation. When you start, your painting might look like a random collection of colors on a canvas. It’s normal; don’t be discouraged. As you add more colors, your masterpiece will start to take shape. I remember when I hit the halfway mark on my first painting – it was like magic. The player and the background started to come together, and I was absolutely amazed.
So, the key takeaway here is this: don’t lose heart when you start, and it looks like a chaotic mess. As you progress, you’ll witness your painting gradually come to life. This will fuel your motivation. I found that the best approach to a DIY Sports Art kit is consistency. Dedicate a small block of time every day, and you’ll maintain progress and build momentum.
The Rewarding Experience
In closing, I want to remind you that DIY Sports Art kits are more than just paint by numbers; they’re a journey, an experience, and a source of immense satisfaction. The time and effort you invest will be returned to you in the form of a beautiful masterpiece that you can proudly call your own.
Remember, this is not just about painting; it’s about creating a work of art that reflects your passion for your favorite player or team. It’s about celebrating the joy of creativity and the thrill of seeing your vision come to life on canvas. So, embrace the process, enjoy the journey, and discover your inner artist.
Happy Painting!!